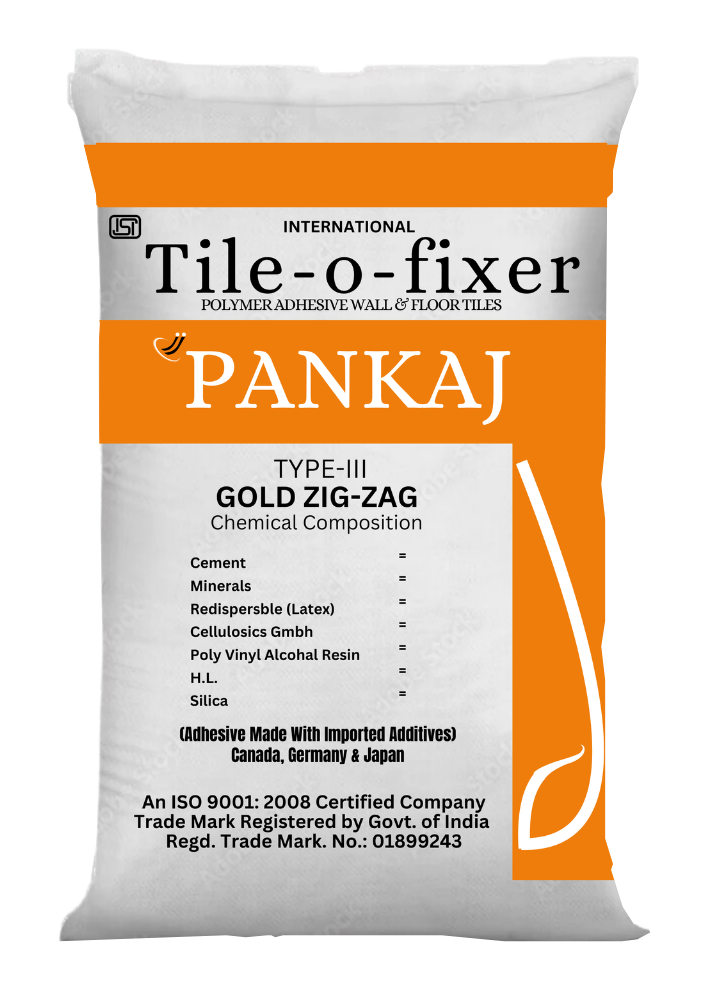
Gold star Zig Zag
Gold Star Zig Zag is a premium polymer-modified adhesive that excels in versatility and performance. Its advanced formula ensures strong bonding for a wide range of tiles, including vitrified, ceramic, industrial grade, and natural stone tiles. Suitable for both interior and exterior applications, it offers superior adhesion to walls and floors, making it a reliable choice for diverse surfaces. The polymer modification enhances flexibility and durability, allowing it to withstand heavy traffic and environmental stress. This adhesive also provides excellent resistance to moisture, ensuring long-lasting tile installations with minimal maintenance
Packaging:20kg
Product Description
Gold Star Zig Zig is a premium polymer-modified grey and white cement-based adhesive ideal for fixing vitrified tiles, ceramic tiles, industrial grade tiles, and natural stone tiles to walls and floors in interior and exterior applications with a bed thickness of up to 6mm. mm (maximum 12 mm thickness in area of limited extents).
Certification
- ISO 9001:2015 , 14001:2015
- EN 12004:2017, C2TE Type-III Adhesive
Color: Grey and White
Coverage
Approx. 30-35 sq. ft per 20kg bag with 1/4” x1/4”
(6mmx6mm) square notched trowel for average
Bed of 3mm.
Coverage will vary depending on trowel notch size, type, and
Size of tile and substrate smoothness and evenness
PHYSICAL PROPERTIES
| Bed Thickness |
6 mm (can be extended up to 12 mm in area of limited extent) |
| Pot Life | 3 hours |
| Setting Time | 24 hours |
| Temperature Resistance | -5°C to 50°C |
| VOC Content | 1.26 g/L |
Properties as per IS 15477: 2019
|
Property with Test Method |
Min. Requirements |
Typical Result |
|
Tensile Adhesion Strength (as per Annex A) Dry Condition Wet Condition |
1.50 N/mm2 1.00 N/mm2 |
>1.50 N/mm2 >1.10 N/mm2 |
|
Shear Adhesion Strength (as per Annex B) Dry Condition Heat Aging Condition Wet Condition |
1.50 N/mm2 1.00 N/mm2 1.00 N/mm2 |
>1.60 N/mm2 >1.20 N/mm2 >1.10 N/mm2 |
|
Open time (as per Annex C) |
As per Mftr. |
30 mins |
|
Adjustment time (as per Annex D) |
As per Mftr. |
20 mins |
|
Slip (as per Annex E) |
< 0.50 mm |
0.30mm |
Properties as per EN 12004: 2017
|
Property with Test Method (as per Part 2) |
Min. Requirements (as per Part 1) |
Typical Result |
|
Tensile Adhesion Strength (Clause 8.3) |
||
|
Initial |
≥ 1.00 N/mm2 |
> 1.30 N/mm2 |
|
After water immersion After heat aging |
≥ 1.00 N/mm2 ≥ 1.00 N/mm2 |
> 1.10 N/mm2 > 1.10 N/mm2 |
|
After freeze-thaw cycles |
≥ 1.00 N/mm2 |
> 1.10 N/mm2 |
|
Open time |
@20 mins |
2 |
|
Slip (T) (Clause 8.2) |
Features and Benefits
- Suitable for both interior and exterior spaces
- Premium Polymer Modified Adhesive
- Versatile Application on both walls and floors
- Suitable for ceramic and vitrified tiles
- Excellent Bond Strength
- Easy Mixing and Application
- Reduced Shrinkage
Application
Substrate Preparation
Make sure the surface is clear of dirt, dust, debris, grease, and other contaminants and that it is dry and clean. To ensure the best adhesion, level the surface and fix any cracks or uneven spots.
Dampen the wall before the application of adhesive.
Clean the back of a tile for any dust or coating.
Mixing
Add Gold Star Zig Zag to clean water in a clean container and mix thoroughly until a lump-free mortar is achieved. Use approximately 5–6 litres of water for a 20 kg bag. You can mix the products by hand or with an electric drill mixer at a low speed (less than 300 rpm). Do not over-mix. Overmixing can introduce air bubbles into the adhesive, which might weaken the bond.
Application
- Spread Adhesive:
Apply the mixed adhesive to the prepared surface using a trowel. Comb through the adhesive with a suitably sized square-toothed notched trowel. Larger tiles require a larger notch to provide sufficient adhesive coverage. Apply a thin layer of adhesive to the back of heavy or large tiles to improve bonding.
- Fixing Tiles:
- Position tiles within the open time, pressing them into place with a twisting and sliding motion to ensure solid bed fixing.
- Use a Pankaj leveller to ensure the tile is correctly positioned.
- Put Pankaj tile spacers between tiles to keep the grout lines straight.
- Clean off any surplus adhesive from the tile face and joints using a damp sponge while the adhesive is still fresh.

